
Ocean Water Shader for Unity3D
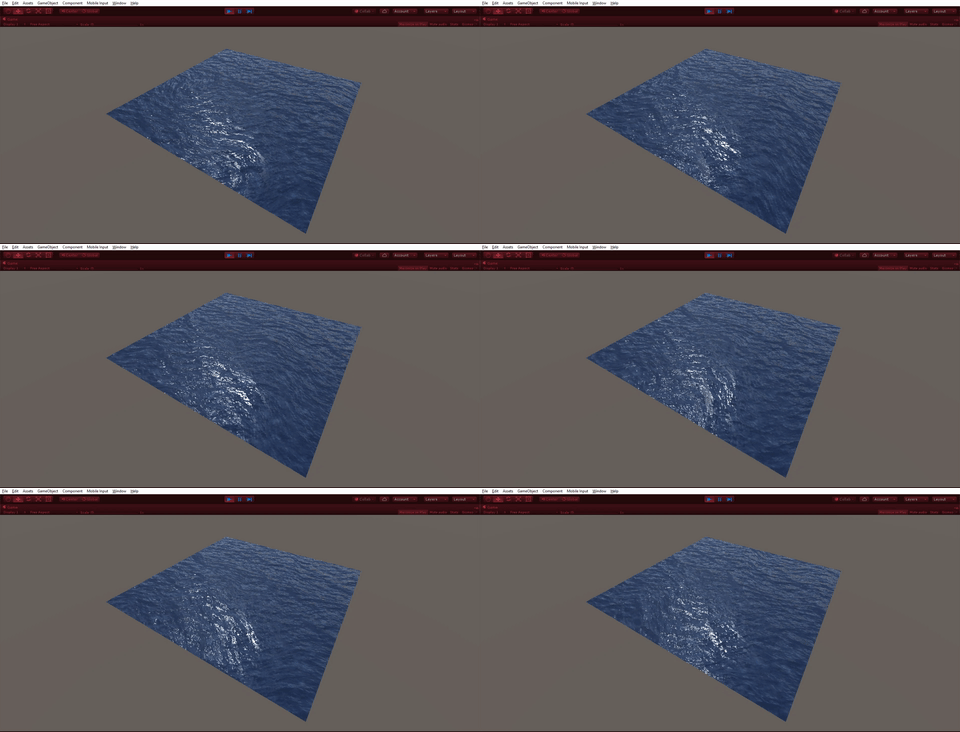
One of the projects that I worked on in my 3D Art capstone at Michigan State was a Dynamic Water shader. I tried to focus on high-end quality and filling it with all the features water shaders are known for; scrolling surface normals, depth-mapping, realtime reflections & refraction, tesselation & displacement, and flow-mapping. It took me about 2.5 weeks to make, and I could definitely work on it further, but I am happy with its capabilities as it stands. I used ShaderForge primarily in writing the shader, and below is my workflow and node setup.

Time Sway

I wanted to give the timer that the water uses a little bit of life, so instead of just feeding all my panners a basic time value, I'm giving them a slightly more dynamic time. I just give it some ebb and flow by adding a sin value in there as well, so the rate of change will be constantly rising and decreasing.
I ended up cutting this block of code out of the main vertex/fragment shaders and making it its own function that could be passed an offset. This allowed me to make sure that my waves and surface normals were not all in sync with one another.
Flowmapping

I implemented flowmapping to give the water normals a bit more shape, and to offset the issue of obvious tiling when you looked at the water from a distance. The first step I did was made some scrolling UV's for the flowmap, which I repeated at many points in the shader. There is also an option for the user to tile the flowmap with the scale of the object to make it easier to scale the shader to any size.
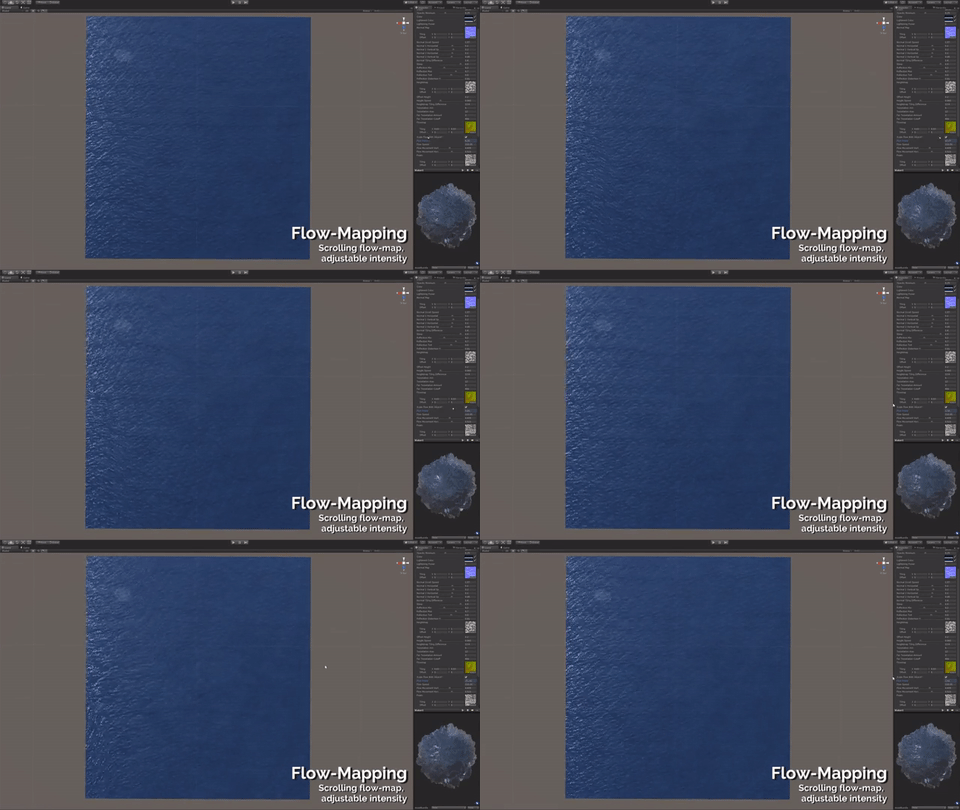
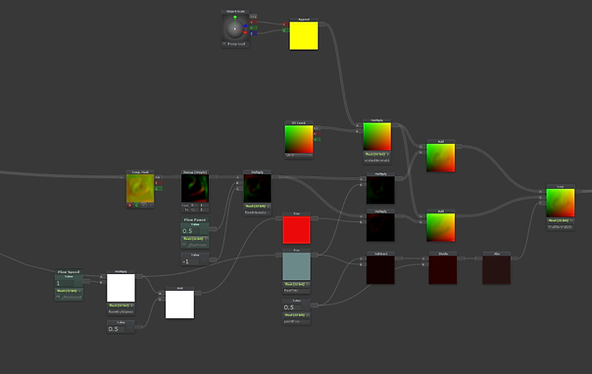
I referred pretty heavily to ShaderForge's documentation on how to set up flow-mapping for this step, but it basically just takes a texture and offsets the UV's based on the R/G values in that texture. I use the UV's created in this step for the normal mapping later on.
Surface Normals

I simulated the surface movement of the water by using two instances of a normal map, tiling them slightly differently, scroll those normal maps in opposite directions and then blend them on top of one another. I used the flow-mapped UV's for the normal maps to make sure that the water normals hit each other at angles and to hide some of the long-distance tiling

Depth-Foam

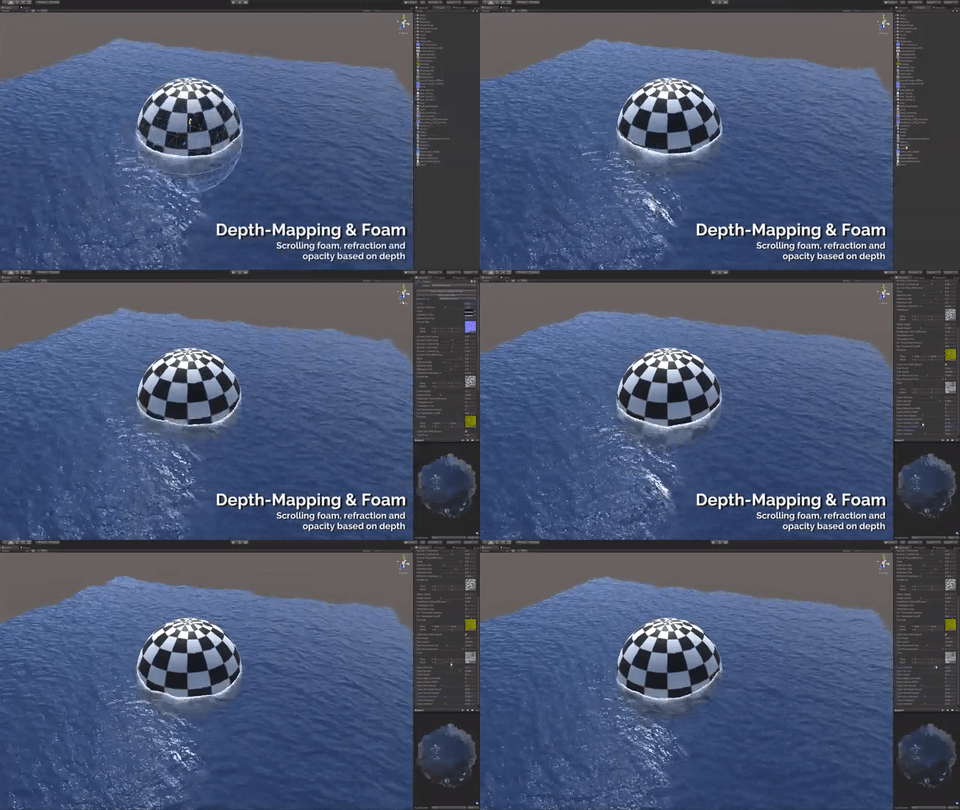
This is a two-part section. The main principle is depth, which requires the shader to be transparent and the camera must render a depth texture. We then use this depth texture to do a bunch of stuff. For one, it determines the opacity of the shader (objects that are just below the surface give the shader a low opacity and objects that are further down make it fully opaque.) The second component is foam, which uses a power of the depth value to draw the mask for the foam. The mask is applied to a foam texture that uses the flow-mapped UV's to give it some shape. The foam is scrolled similar to how the normal map is, except it uses a sin function to determine its movement so that it sways in both directions. That mask is sharpened even further to give a sharp edge-outline right where the foam brushes up against the objects, so it looks like clearer falloff. There are several user inputs to edit, like the intensity of the foam, speed of scrolling, and the size/falloff.
Tesselation & Displacement
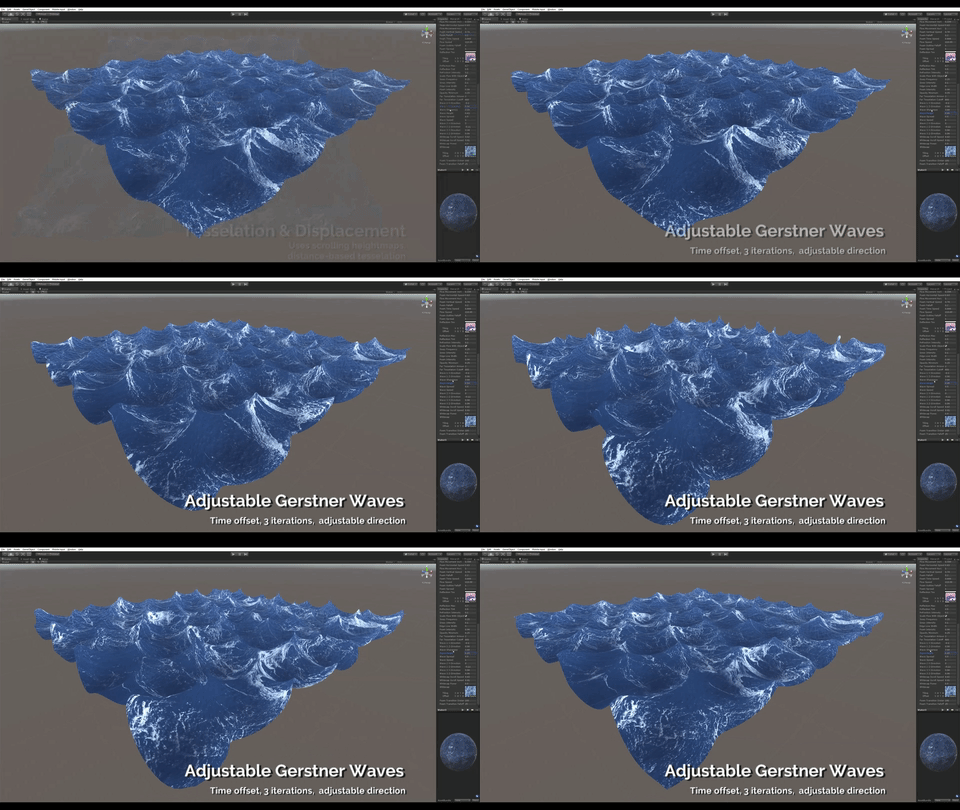
I decided to use dynamic tesselation to get a little bit more control over the waves and the level of detail needed to fill them out. I use Gerstner waves for the height(more on that in a moment), and I tesselate more closer to the crests of the waves to give sharper edges. I also have a separate tesselation value that is used if the viewer is too far away from the vertex position.

Gerstner Waves
For those of you who are unfamiliar with what Gerstner waves are, this page by Nvidia's 'GPU Gems' has a great writeup. The code inserted into the shader is an okay (but messy) visual representation of what's going on, but most of it was done in a single function in the shader.

I basically use the Gerstner wave algorithm to generate a Vector3 position for each vert given global steepness, wavelength, speed, and amplitude values. I switch them up in that they each get different directional vectors (that also determine the number of waves present) and offset version of the time value. In the code, this is just done one function, though it's represented here as three (virtually identical) functions because that's what was easier to set up with ShaderForge (even great tools have their limits).

Color & Reflection
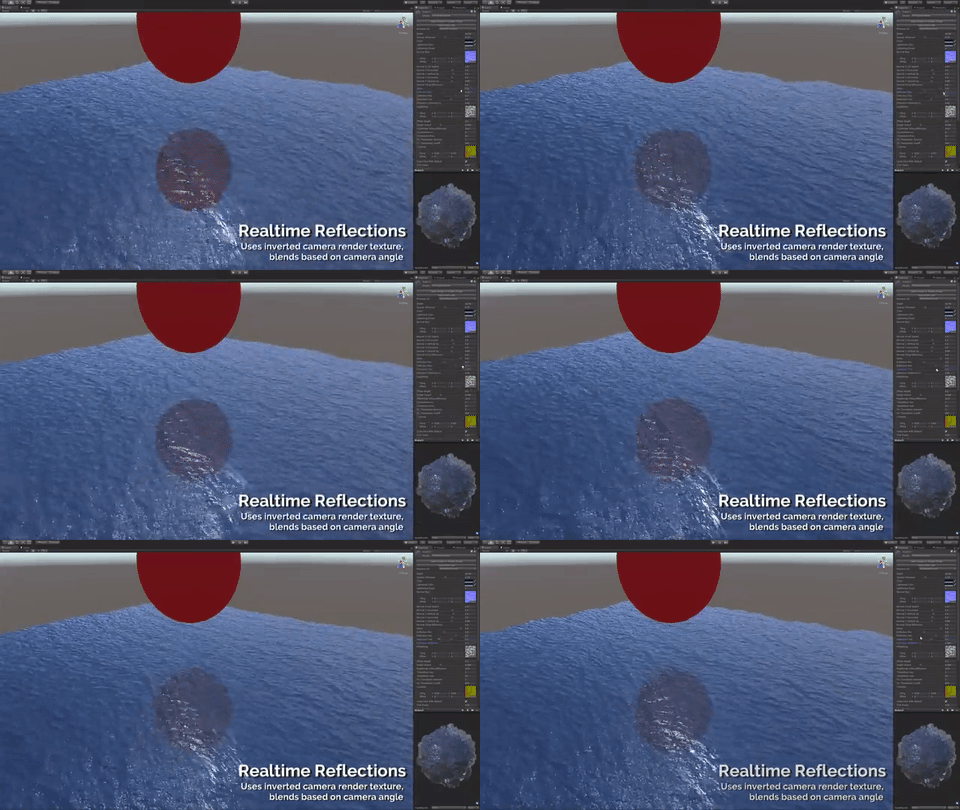
The color is pretty basic. It's just a couple user inputted colors that are lerped between using the height values (so the higher up areas are colored slightly differently). This gives the water some nice variation in color. The reflections used some external scripting to generate a secondary texture on top of the water. It basically creates a second camera with an inverted matrix, generates a render texture for that camera, and then applies that render texture to the shader. This creates realtime reflections that even work in editor! These reflections can be tinted with the water color to simulate scattering and absorption, and the user can also choose how reflective the water is at the horizon and how reflective it is when viewed from the top. The reflection distortion based on the surface normals can also be adjusted.
Refraction
The refraction was pretty simple. I just used the R/G component of the normal map blend multiplied by the refraction intensity multiplied by the depth. This lets the user adjust the refraction intensity and also bases the refraction on the depth of the object being refracted.
